
Start With the Areas That Work Hardest
Begin your check where the steel takes the most stress. Look at corners, side walls, base corners, handles, rolled edges and any welded joints. These spots show damage first because they carry the weight of the dough, the heat from the oven and the knocks from stacking. In busy bakeries around Alrode, Germiston and Boksburg, a quick visual check at the end of a shift often catches trouble before the next batch goes in.
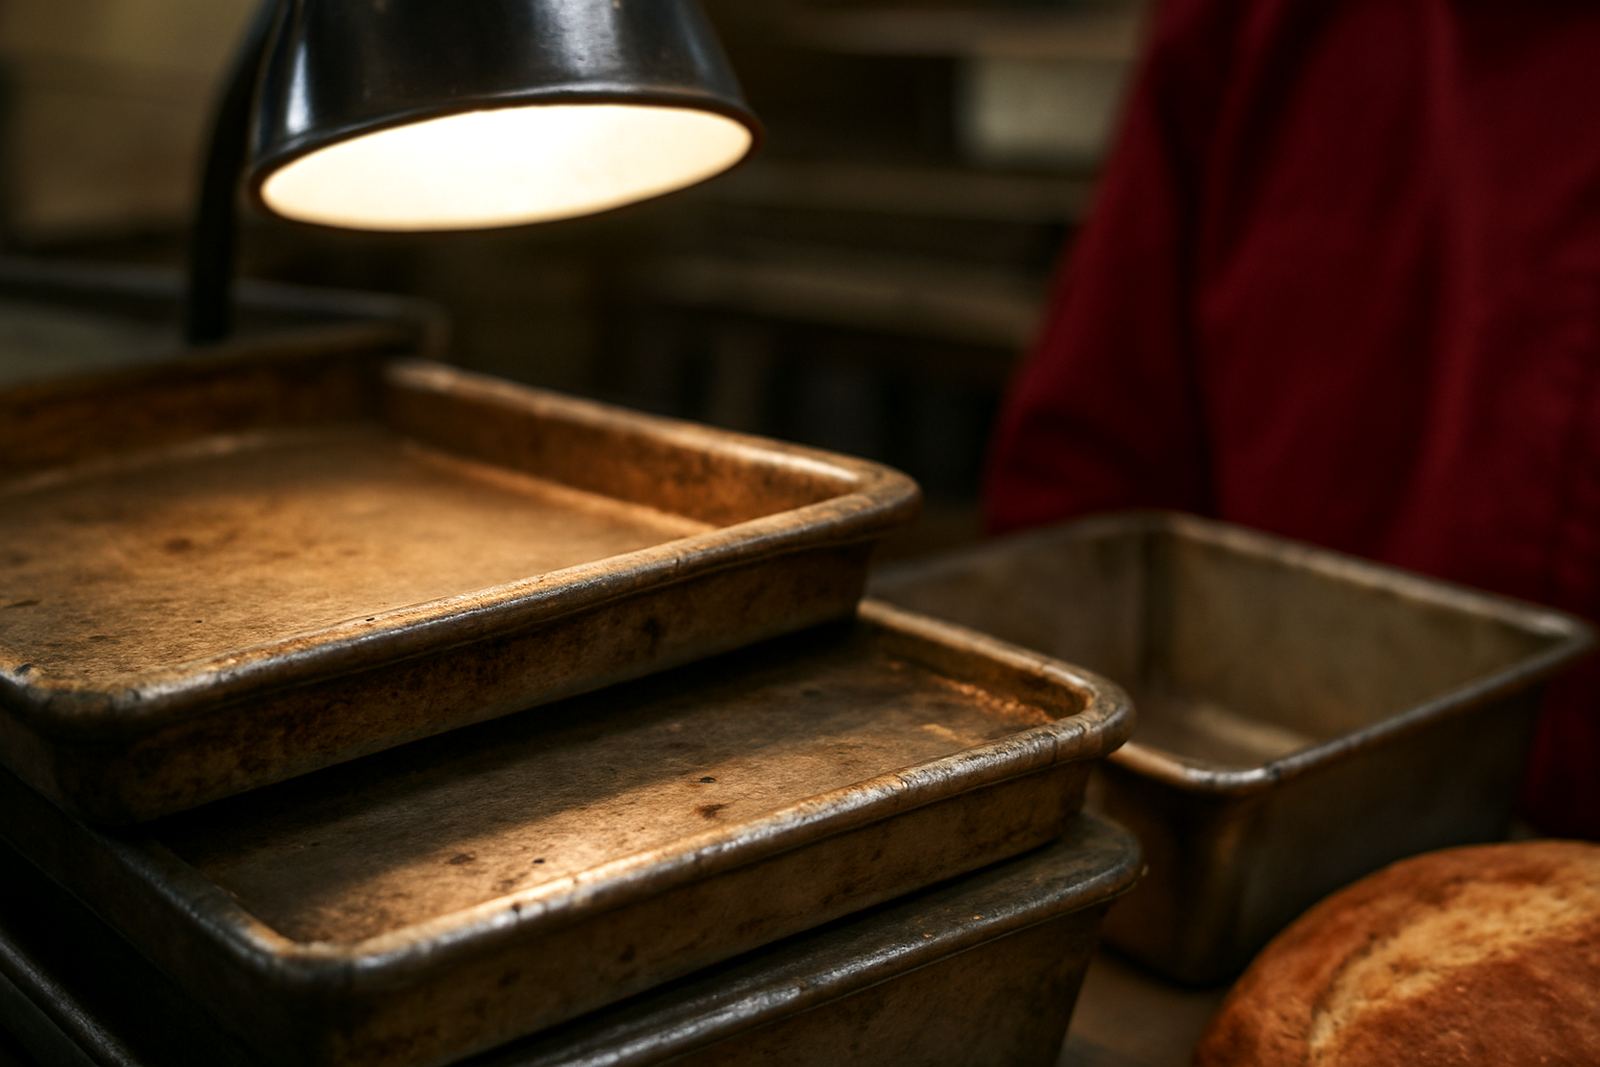
Run your hand carefully over the rim and outside edges. If you feel rough patches, flaking coating, sharp points or a bend that was not there last week, note it. A tray can still look serviceable from across the room but still be unsafe or uneven once it hits a deck oven or prover rack.
Signs That a Bread Pan Needs Attention
Bread pans usually give warning signs long before they are unusable. The most common ones are sticking loaves, uneven browning, bulging sides and lids that no longer sit square. If the pan has started to twist, the loaf shape follows the fault and that makes slicing and packing harder later on.
- Rust spots that keep coming back after cleaning
- Thin spots where the metal has worn through the coating
- Warping that makes the pan rock on a flat surface
- Cracks around welds or corners
- Lids that do not close evenly or rattle during proofing
- Any area where dough residue collects and stays after wash-down
When wear reaches this stage, the pan is often costing more in rejects and cleaning time than a replacement would. That matters in high volume runs, especially where shift changes are tight and load-shedding already shortens your production window.
How To Check Baking Trays and Perforated Trays
Trays need a slightly different check because they are exposed to airflow, handling and repeated loading. Put the tray on a flat counter or oven shelf and press lightly on opposite corners. If it wobbles, the frame has likely shifted. A warped tray affects heat transfer and can cause one side to bake faster than the other.
For perforated trays, inspect every hole section for blocked perforations, split edges and stretched metal around the holes. In humid areas like coastal supply routes or warm wash bays, moisture can sit in the openings and cause early rust if the tray is not dried properly. Even a small amount of pitting can catch dough and make release harder.
- Check for sagging between support bars
- Inspect the tray lip for dents that stop smooth stacking
- Look for oil build-up that hides heat damage
- Confirm that perforations are still open and even
- Replace trays with deep bends near the centre line
What Wear Looks Like In Daily Production
Wear does not always appear as damage. Sometimes it shows up in the process. If staff need more release spray than usual, if loaf colour changes from one side to the other, or if trays keep snagging on the rack rails, the metal may already be past its best. These signs are easy to miss when production is busy, so it helps to include them in the shift handover.
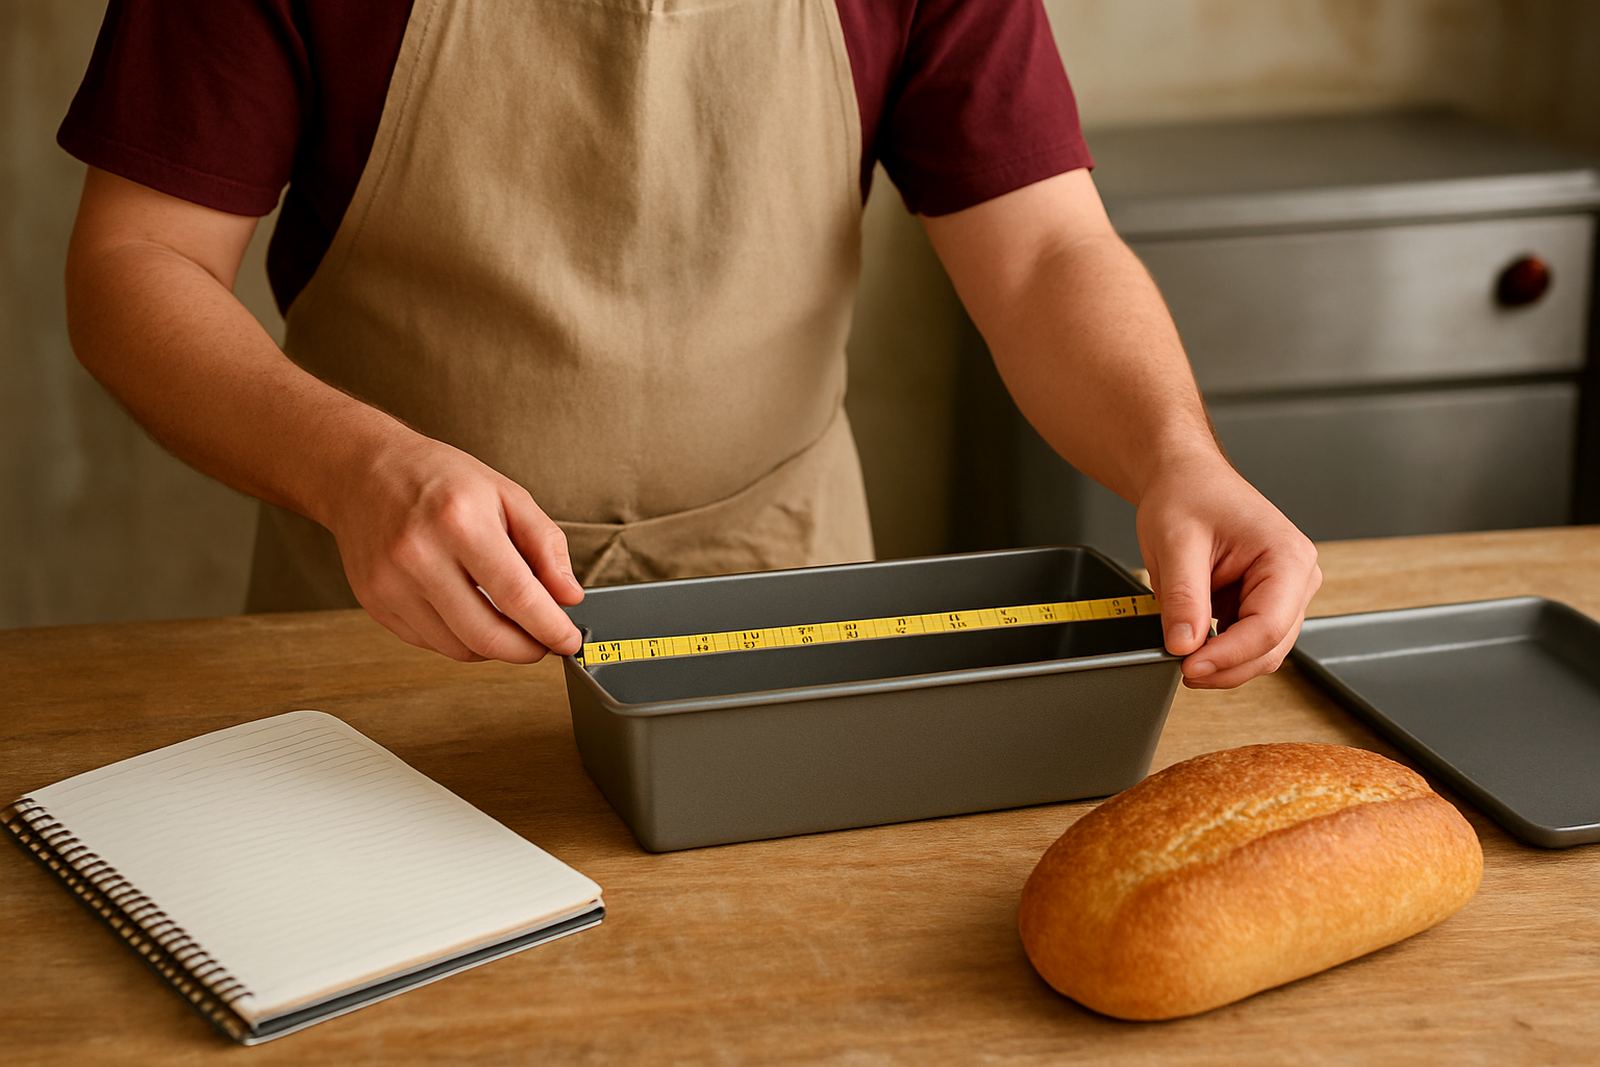
A simple rule is to compare like with like. Check one good pan against one suspect pan, or one older tray against a newer one. Look at depth, straightness, corner alignment and finish. If the difference is obvious to the eye, it will usually be obvious in the oven too.
Simple Inspection Checklist For Weekly Use
Set aside ten minutes once a week and walk the store or wash area with a clipboard. Record what you find so you can see patterns over time. That helps with batch reorders and stops a whole set from being replaced at once when only a few items are worn.
- Count pans and trays that are bent, rusted or cracked
- Check lids and divider inserts for fit and movement
- Test whether each piece sits flat on the bench
- Look for sharp edges that could injure staff
- Mark items that need repair, copying or replacement
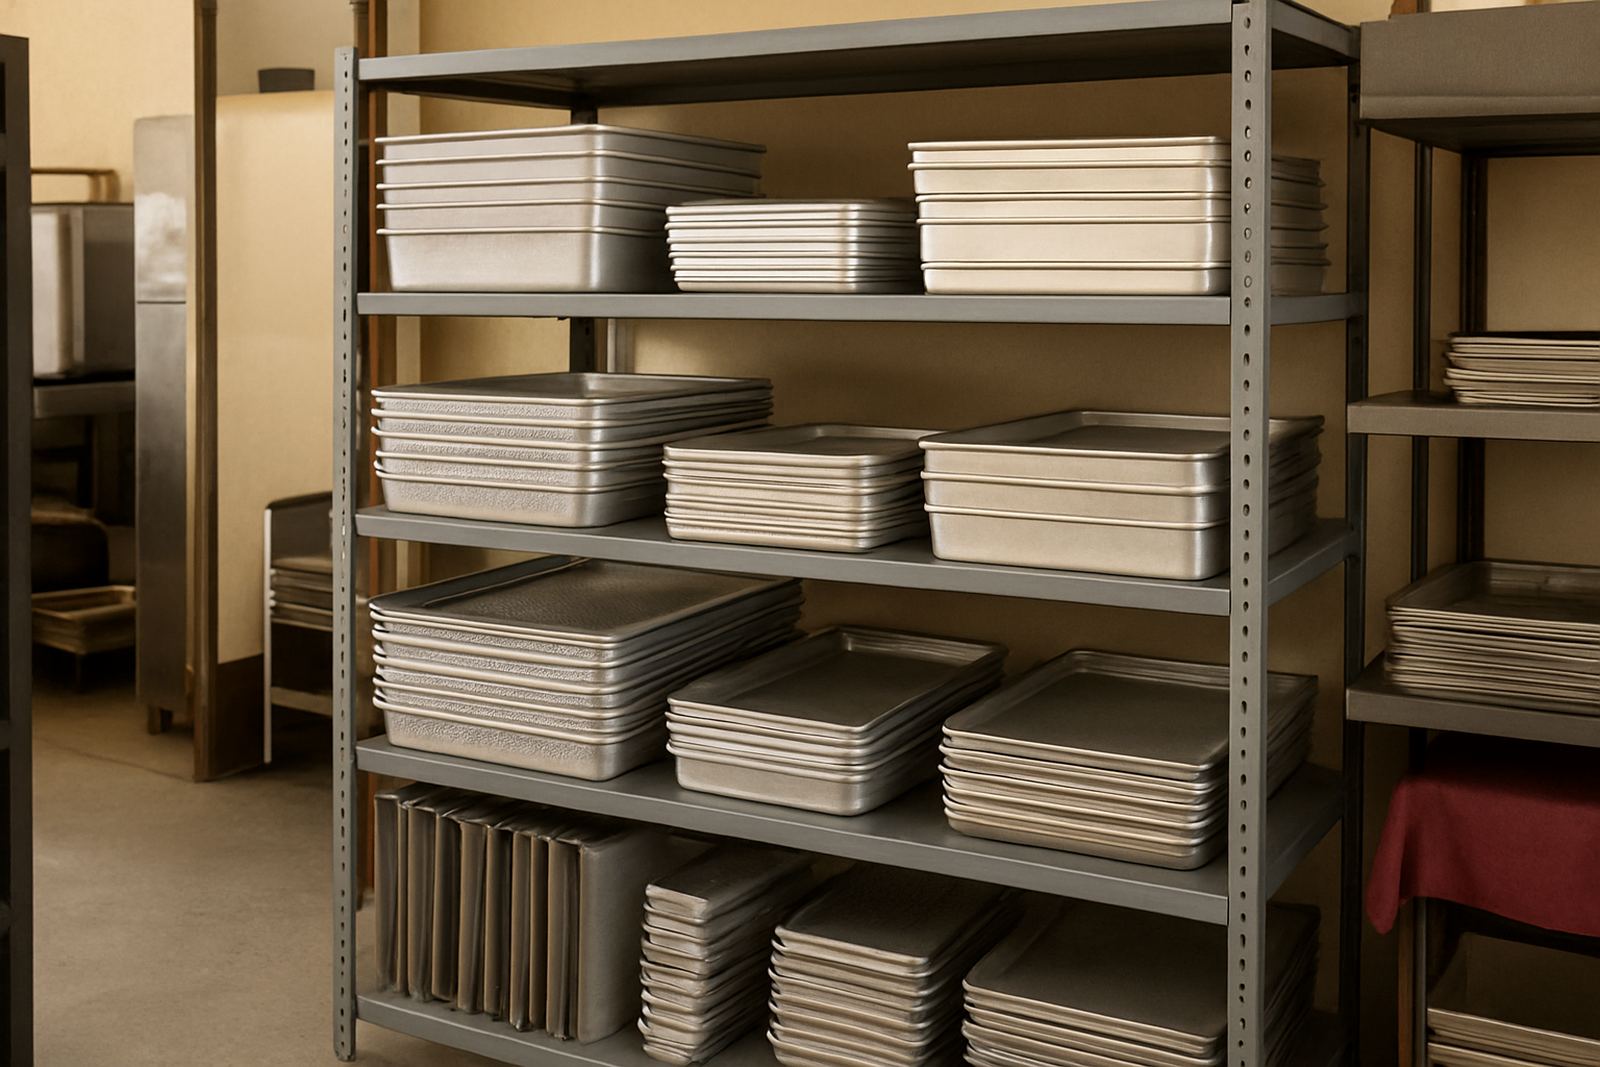
- Keep worn stock separate from good stock
If you serve multiple outlets from Johannesburg South to Midrand, this record also helps you standardise replacements across sites. One branch may be getting more heat cycles than another, so the wear pattern will not always match.
When Repair Stops Making Sense
Minor dents and small fitting issues can sometimes be managed, but once the base has thinned, the sides have pulled out of shape or the lid fit has changed too much, replacement is the safer call. Reworking a badly worn pan can still leave you with poor results, and the labour goes into a piece that has already reached the end of its useful run.
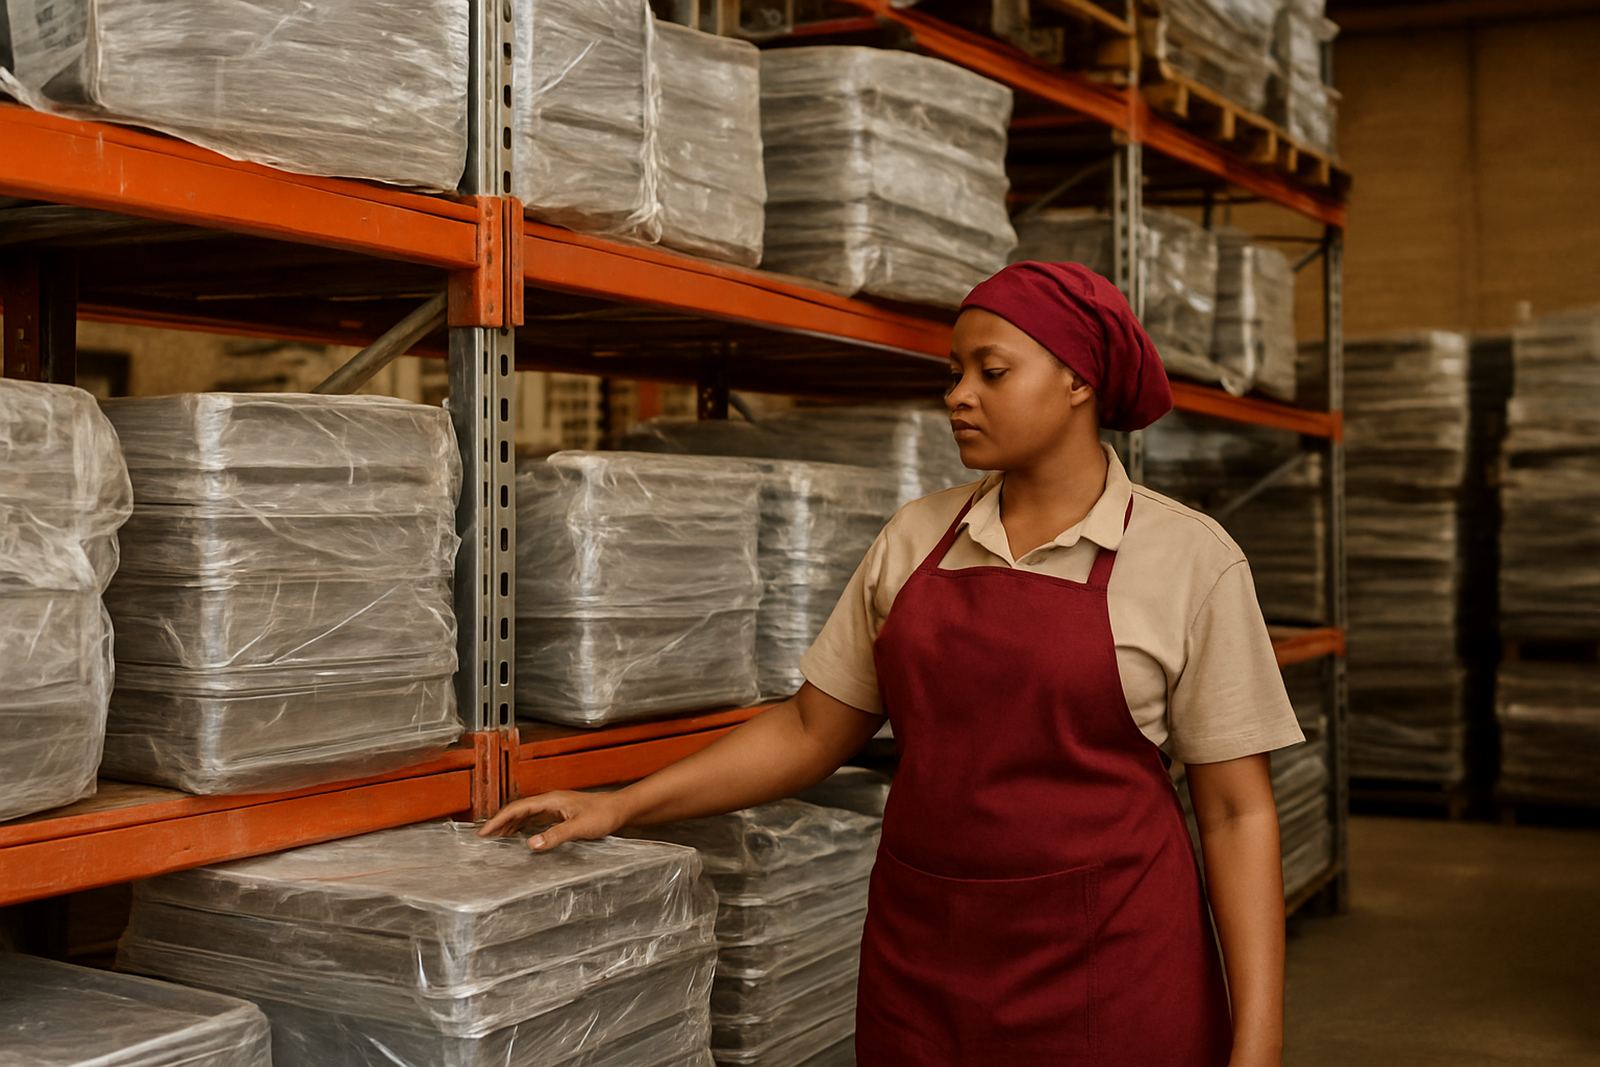
For bakeries that run steady volumes, it helps to plan replacements before the busy season. Keep a note of the item size, gauge and quantity so new stock matches what you already use. That keeps the oven rhythm consistent and avoids surprises during peak orders or municipal power interruptions.