
Why cavity spacing matters on a busy bun line
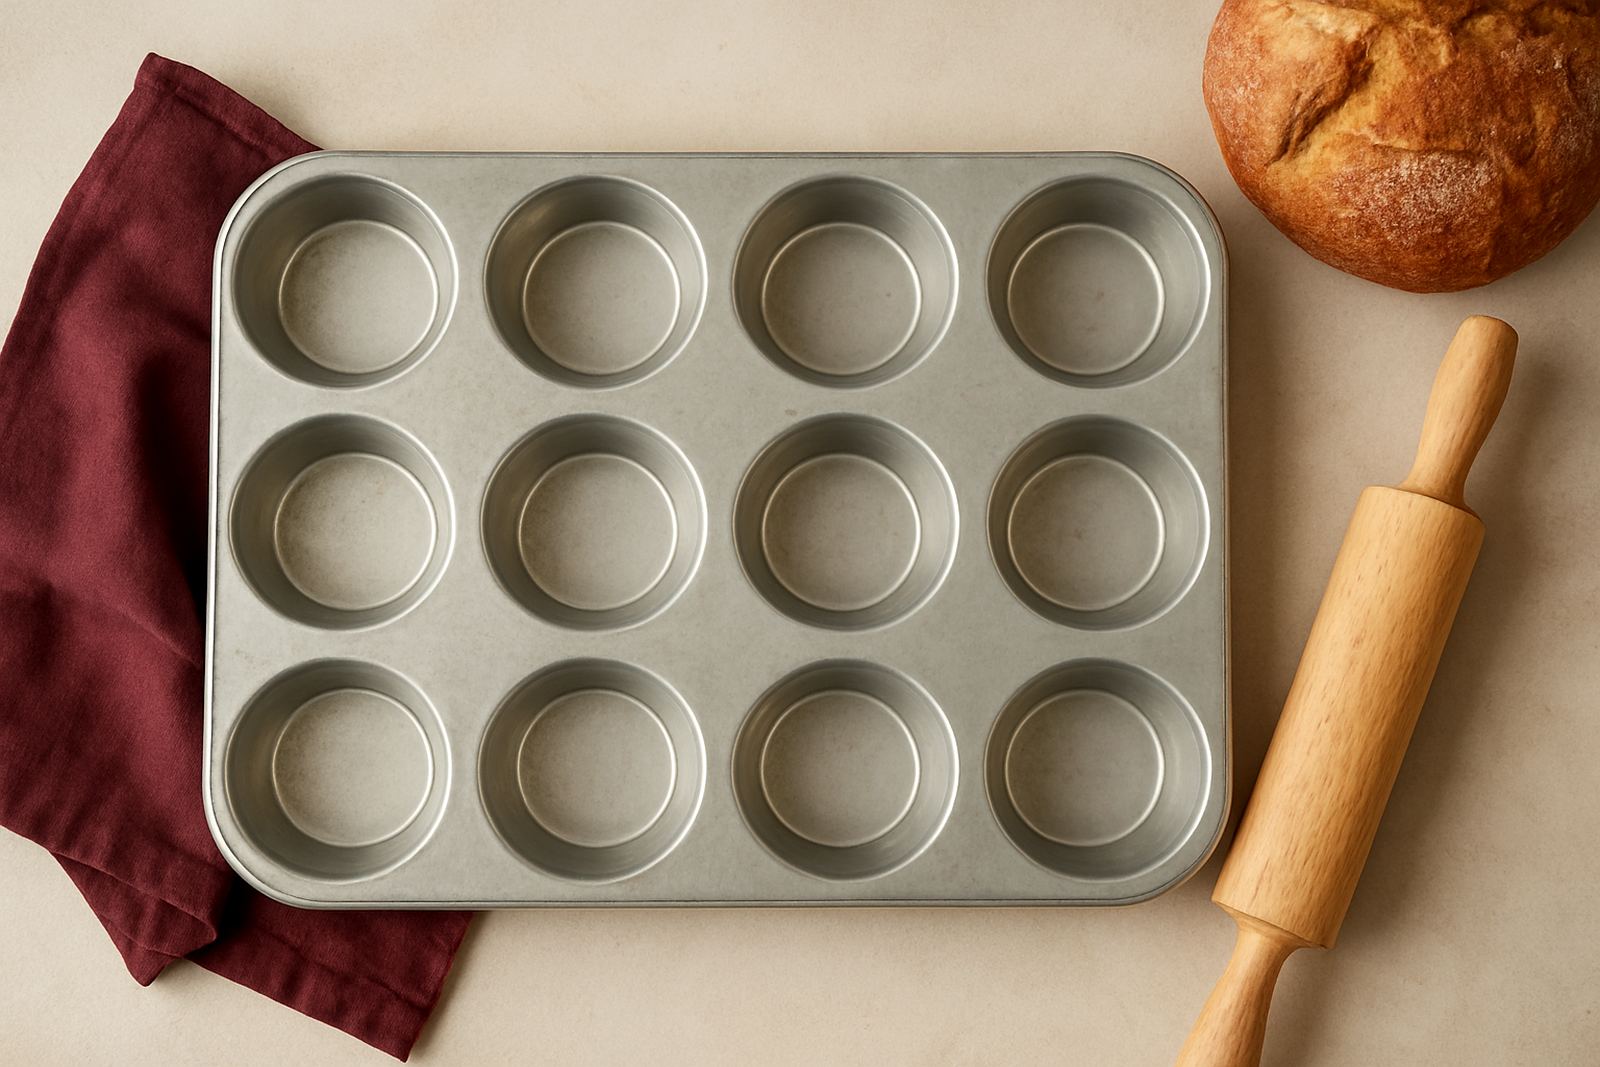
On a production floor, bun trays are not just holding dough, they are setting the pace of the shift. Cavity spacing decides how much room the dough has to expand, how heat moves between rows, and whether the finished buns come out with even sides or flattened edges. If the cavities sit too close together, the outer buns can overbrown while the centre buns lag behind. If they are too far apart, you waste oven space and push up tray count per batch.
For bakeries in Johannesburg South, Alberton and Germiston, where production often runs through load-shedding planning and tight dispatch windows, the right layout helps keep changeovers simple. A tray that matches the dough weight and proofing style saves time on the bench and reduces rejects at the oven, which matters when the team is trying to keep up with repeat orders.
Start with dough weight and proof growth, not tray size
Many bun layout problems start when the tray is chosen before the product spec is settled. The better starting point is dough weight per cavity and the expected proof growth. A 45 g roll needs a different cell pitch to a 70 g dinner bun, and a tray that suits one mix may not suit another if the dough has high water absorption or a slower fermentation profile.
When we look at a layout, we usually ask three things first:
- What is the dough weight per bun, and does it vary by line?
- How much expansion is expected during proofing and oven spring?
- Will the tray be used for hand portioning, divider output, or a depositor line?
That answer shapes cavity depth, wall height and the distance between each cavity. A deeper cavity can support a taller bun, but if the profile is too steep the dough may stick or spread unevenly. In some cases a slightly wider pitch gives a cleaner release than forcing more cavities onto one tray.
Layout patterns that suit South African bun production
Different bakeries run different patterns, and the tray should match the way the floor actually works. A compact bakery in Soweto may need a layout that handles small batch runs and mixed product sizes. A larger plant in Boksburg or Midrand might want standard trays that feed a continuous line with minimal handling.
Common layout options include:
- Square grid layouts for general buns and uniform weight products
- Staggered layouts for better airflow between cavities and more even browning
- Long-run layouts for lines that need more cavities per tray and fewer tray changes
- Mixed-size layouts where one tray carries two or more cavity sizes for test runs or special orders
In a humid coastal area, product release can be more sensitive to moisture in the air, so the cavity finish and spacing become more important. Inland, heat and dry conditions can change proving speed, so the same tray may behave differently in winter and summer. A good layout should leave some tolerance for those seasonal changes.
Airflow, browning and the risk of pale centres
Tray layout has a direct effect on oven airflow. When cavities are packed tightly, hot air has less room to move around the dough, and that can lead to pale centres, weak colour at the base, or one side baking faster than the other. This is especially noticeable in older deck ovens and in plants where oven loading is done by hand.
A tray with properly spaced cavities usually gives more consistent colour, because heat can reach the sides more evenly. That matters when the customer expects a standard bun from every batch, not one tray full of random shades. It also helps reduce the risk of underbaked middles, which creates waste and complaints from retail or food service clients.
To check whether the airflow is right, watch for these signs:
- Uneven browning between the centre and outer rows
- One end of the tray finishing faster than the other
- Buns that lift well but collapse after cooling
- Sticky release on trays that were not fully cooled before refilling
Release, cleaning and handling on the bakery floor
Good bun tray layouts also need practical handling. If the cavities are too tight together, the tray can be harder to clean and more awkward to inspect. If the profile traps dough, crumbs build up and affect the next batch. That becomes a problem on long production days, especially where the same trays are returned to the line before they have fully cooled.
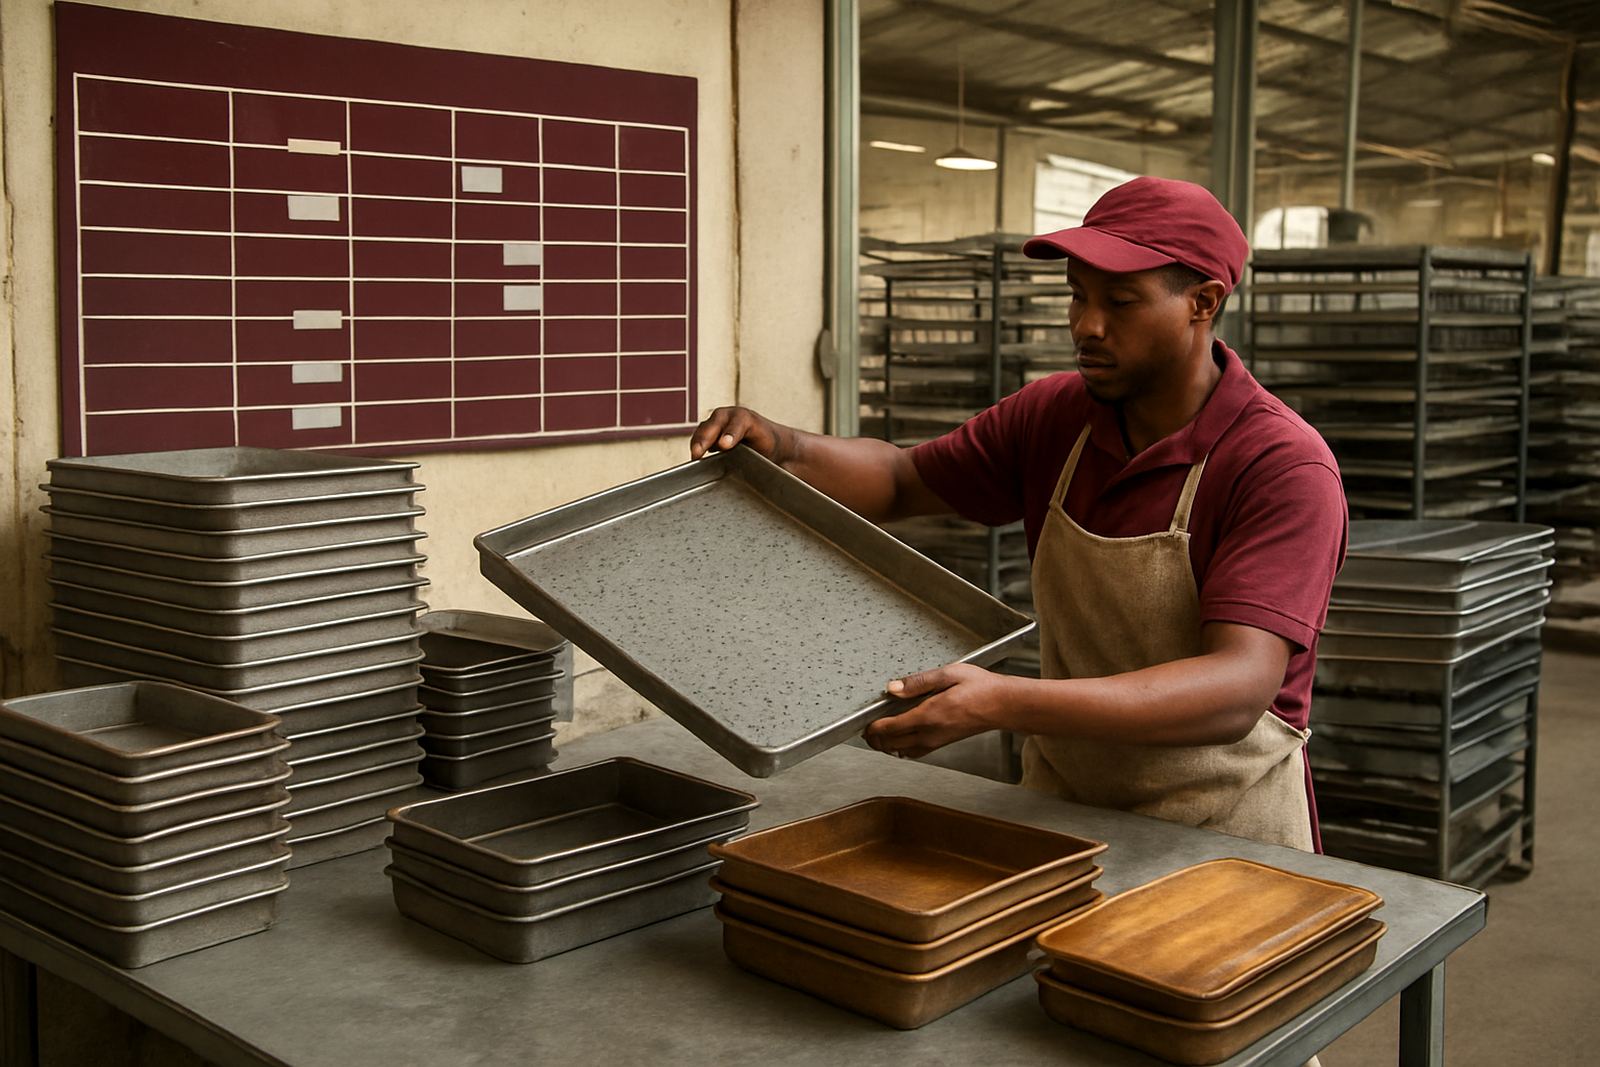
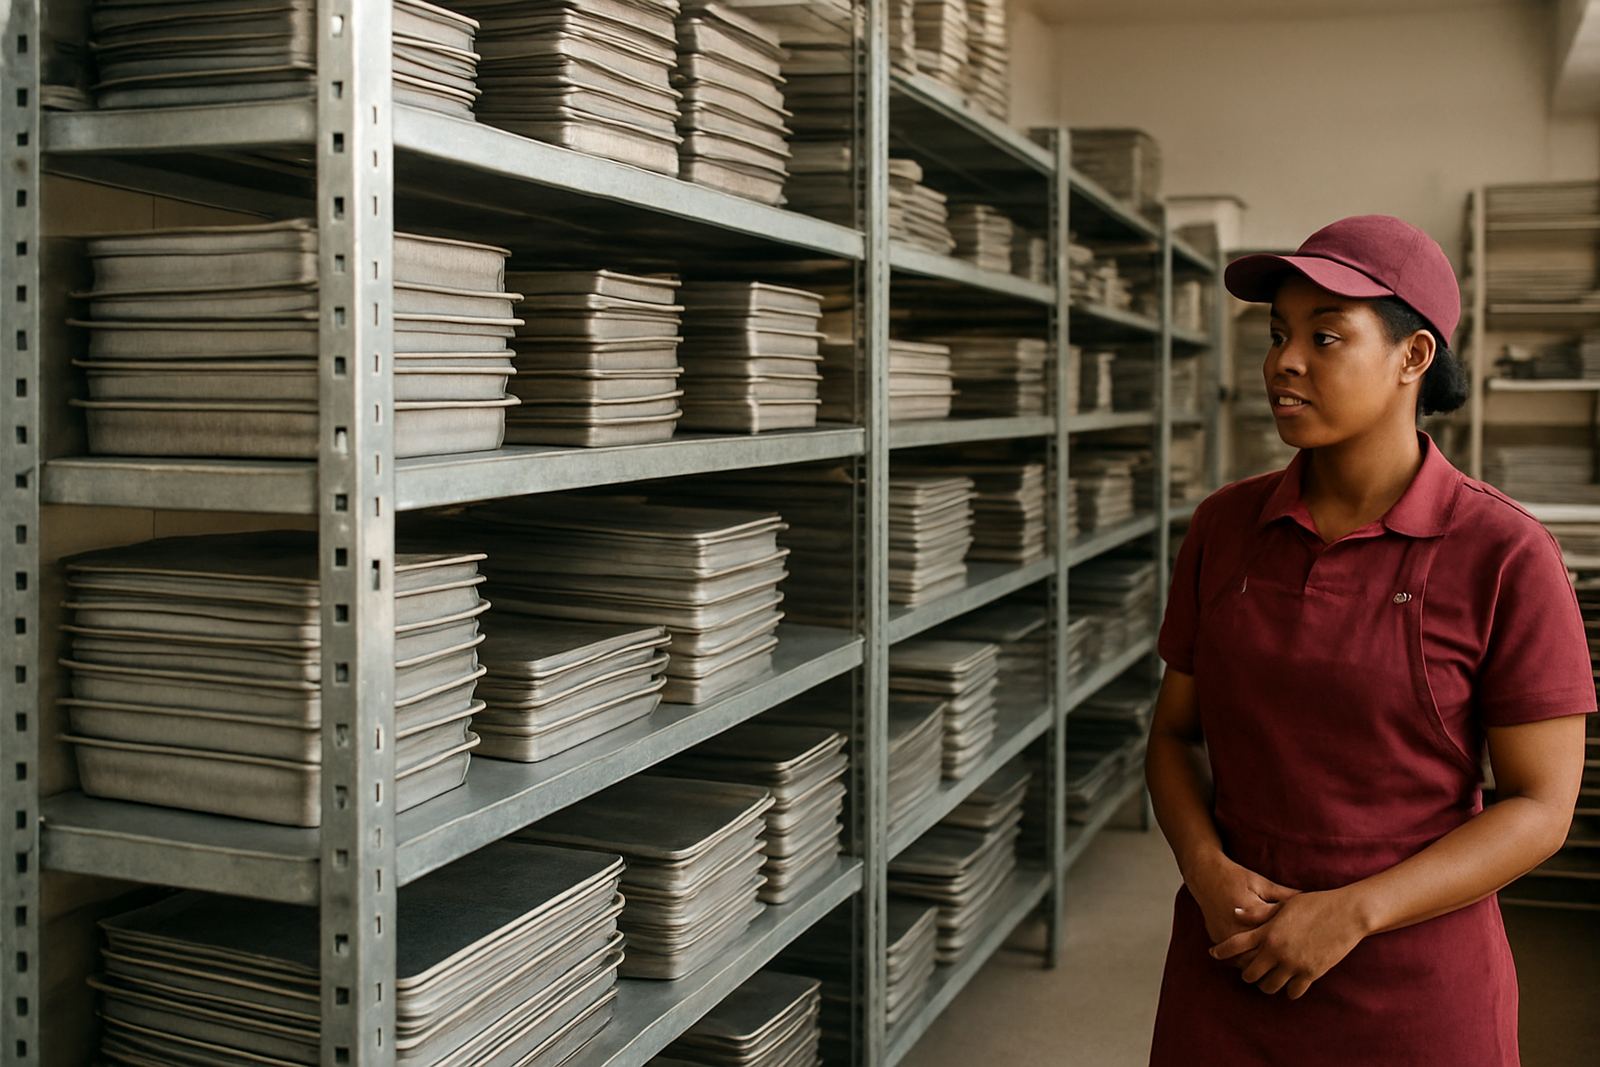
Tray edges, lip strength and stacking behaviour all matter. A tray that nests badly slows down dispatch and storage. In a busy bakery with limited space in Alrode or Germiston, that can create real bottlenecks. It is worth checking that the layout allows safe handling with gloves, enough finger room at the edges and a finish that suits your wash routine. If the bakery uses heavy washing or chemical cleaning, the tray material and folds need to be suited to it, otherwise the tray starts to distort or wear early.
A local example from Alrode to the oven line
A bakery in Alrode wanted to move from a mixed small bun tray to a more regular production pattern for school and canteen orders. The team was losing time because the old trays forced too many dough adjustments, and one side of the oven was colouring faster than the other. After reviewing the dough weight, proof time and oven space, the layout was changed to a wider pitch with fewer cavities per tray, but better airflow between rows.
The result was not about making the tray bigger for the sake of it. It was about matching the cavity layout to the actual production method. The bakery got more even browning, easier release and fewer mixed batches at the end of the shift. For a plant that also had to plan around load-shedding and dispatch cut-offs, that kind of improvement made the whole day less difficult.
If you are comparing bun tray layouts, bring the dough spec, your oven dimensions and a sample tray or finished product photo. It is much easier to match the right spacing when the production facts are clear from the start. One or two small changes in pitch can save a lot of waste later on.